


How to Make Homemade Lunch Meat Quickly, Easily, and Kid-Approved
Packing lunch can be a challenge, especially when store-bought meats are full of preservatives and additives. Finding a healthy, tasty alternative that kids actually enjoy is even harder. Many parents struggle with limited options that are convenient, safe, and flavorful for daily lunches.
Making homemade lunch meat solves this problem. It’s quick, easy, and allows you to control the ingredients while keeping the flavors your family loves. With just a few simple steps, you can have fresh, kid-approved lunch meat ready for sandwiches, wraps, or snack plates all without the chemicals or mystery ingredients found in store-bought options.
Why Homemade Lunch Meat Makes the Perfect Meal?
Lunch meat offers freshness and flavor that store-bought options often can’t match. You can choose your favorite cuts and season them exactly how you like, whether with herbs, spices, or marinades. Without preservatives, artificial flavors, or excess sodium, each bite feels cleaner and more satisfying. This makes it ideal for sandwiches, wraps, salads, or even quick snacks, and it pairs perfectly with a simple Veggie Fried Rice recipe for a complete meal.
Another advantage is the control it gives over ingredients and portions. You know exactly what’s going into your meal, making it easier to meet dietary needs or personal preferences. It’s also cost-effective, as larger cuts can be cooked, sliced, and stored for multiple meals.
Ingredients
| Ingredient | Amount / Note | Purpose |
| Chicken breast | 1 lb (or preferred meat) | Mild, tender base kids enjoy |
| Turkey breast | 1 lb | Lean, flavorful alternative |
| Lean ham | 1/2 lb | Adds variety and mild flavor |
| Salt | 1 tsp | Enhances natural taste |
| Garlic powder | 1/2 tsp | Adds subtle flavor |
| Mild herbs (e.g., parsley, thyme) | 1 tsp | Kid-friendly seasoning |
| Olive oil or butter | 1 tbsp | Keeps meat moist while cooking |
| Optional: honey | 1 tsp | Slight sweetness, kids often love |
How To Make Lunch Meat At Home Step By Step Instructions
Making lunch meat at home is easier than you might think. It’s healthier, fresher, and more flavorful than store-bought options. With simple ingredients and basic tools, you can create tender, kid-friendly meats perfect for sandwiches, wraps, or salads. You can also adjust flavors and seasonings to suit your family’s taste.
1. Choose Your Meat
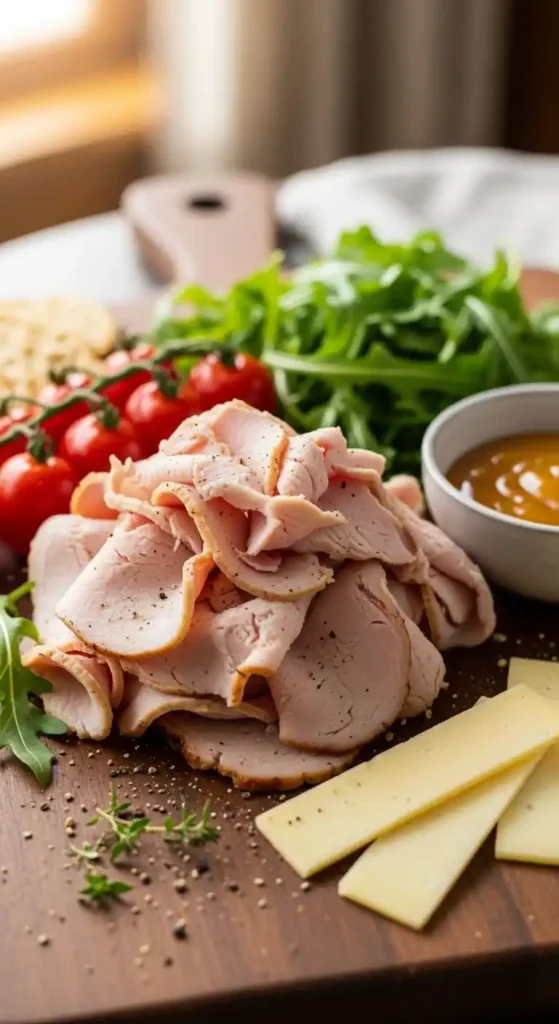
Start with mild, tender cuts like chicken breast, turkey breast, or lean ham. These options are easy to cook, slice, and most kids enjoy them. Fresh meat ensures the best texture and flavor, making every bite more satisfying.
2. Prepare the Meat
Trim any excess fat or skin and rinse the meat under cold water. Pat it dry with paper towels. For even cooking, pound thicker pieces to uniform thickness. This helps the meat cook evenly and slice neatly.
3. Season the Meat
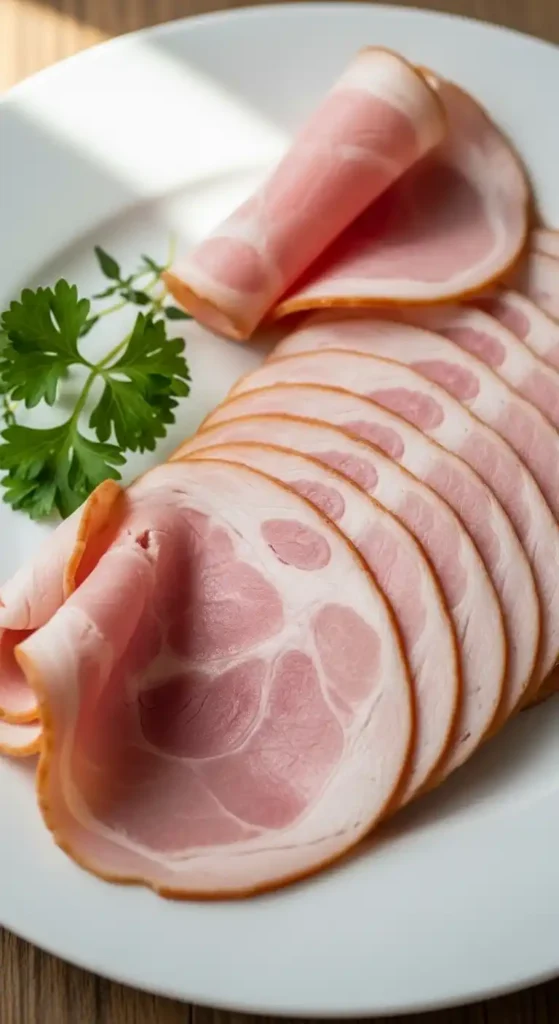
Keep seasonings simple and kid-friendly. Use a pinch of salt, mild herbs like parsley or thyme, and a small amount of garlic powder. Optional additions like a touch of honey can add subtle sweetness. Avoid strong spices or highly processed seasoning blends.

4. Cook the Meat
There are a few easy ways to cook lunch meat:
- Oven roasting: Preheat oven to 350°F (175°C). Place meat in a lightly greased pan and roast until fully cooked (internal temperature for poultry: 165°F / 74°C).
- Boiling or poaching: Simmer meat gently in water or broth until cooked through. This method keeps it tender and moist.
- Slow cooking: Perfect for larger cuts. Cook on low for several hours until tender.
5. Cool and Slice
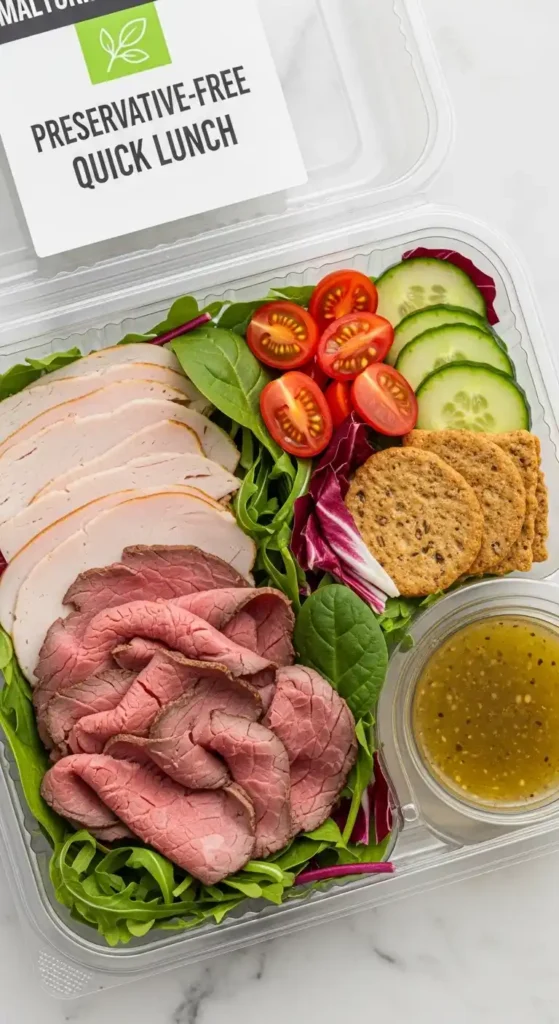
Allow the meat to cool completely before slicing. Chilling in the fridge for a couple of hours makes it easier to cut thin, even slices. Use a sharp knife or a meat slicer for best results.

How to Store Homemade Meat Without Losing Flavor?
To keep homemade lunch meat fresh and tasty, store it in airtight containers or zip-top bags in the fridge. Layer slices with parchment paper to prevent sticking, and keep the fridge at or below 40°F (4°C). Use within 4–5 days for the best flavor and safety.
For longer storage, freeze the meat in portioned packs, separating layers with parchment paper. Thaw in the fridge overnight before using. Avoid storing near strong-smelling foods, and consider a light brush of olive oil or broth to keep slices moist and flavorful.
Flavor Tricks That Make Kids Ask for Seconds
Getting kids excited about lunch meat is all about flavor and fun. Mild spices and natural flavor boosters, like a pinch of garlic powder, mild herbs, or a touch of honey, make the meat tasty without overwhelming their little palates.
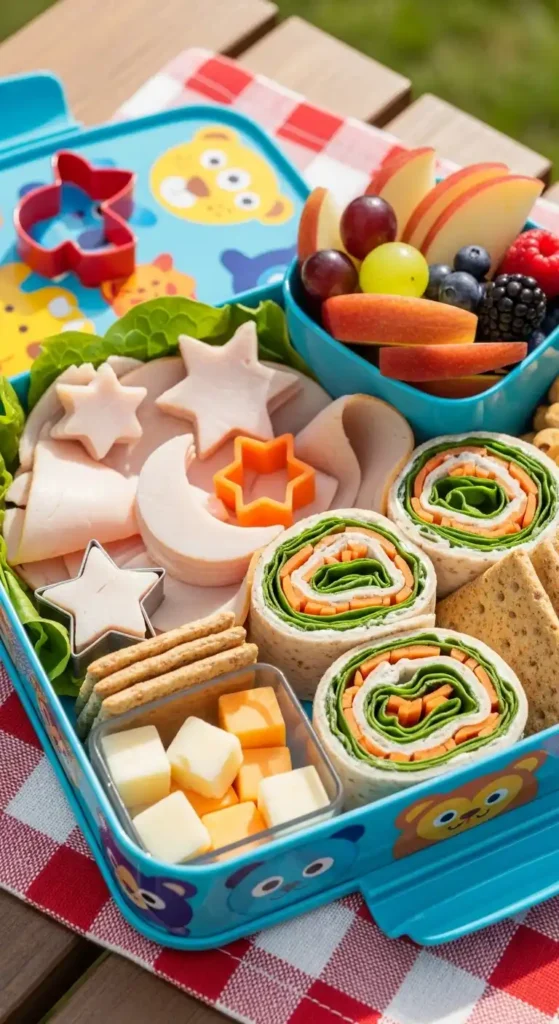
Adding fun colors and textures can make meals more appealing. Try layering thin slices with colorful veggies or mixing in tiny cheese bits for a playful twist. Simple mix-ins like finely chopped herbs, soft veggies, or mild cheese keep the meat interesting and encourage kids to ask for more.
Mix-ins kids love (cheese bits, herbs, or veggies)
Adding small mix-ins can turn ordinary lunch meat into a kid favorite. Tiny cheese bits, finely chopped herbs, or soft veggies make each bite more exciting. These simple additions add flavor, color, and texture that kids enjoy.
How to Slice Like a Pro
Use a sharp knife or a meat slicer to get even, thin slices. Chilling the meat in the fridge before slicing makes it easier to cut cleanly and prevents tearing.
Fridge and Freezer Storage Hacks
Store sliced meat in airtight containers or zip-top bags to keep it fresh for 4–5 days in the fridge. For longer storage, freeze portions in layers separated by parchment paper so you can grab exactly what you need.
Quick Prep for Weekly Lunches
Slice meat in advance and store it in portioned containers. This makes assembling sandwiches, wraps, or snacks during the week fast and stress-free. Kids love having ready-to-eat options that are fresh and flavorful.
Creative Lunch Ideas Using Your Homemade Meat
Homemade lunch meat opens up a world of fun, kid-approved meals beyond the usual peanut butter and jelly. With a little creativity, you can make lunchtime exciting while keeping it healthy.
Sandwiches Beyond PB&J
Use your homemade meat in sandwiches with colorful veggies, cheese, or mild spreads. Try layering turkey or chicken with avocado, cucumbers, or a thin slice of cheese for a tasty twist kids actually enjoy.
Wraps, Roll-Ups, and Bite-Sized Snacks
Roll slices of meat with cheese, soft veggies, or a spread in tortillas or flatbreads for easy-to-eat wraps. You can also make bite-sized roll-ups for snack boxes, perfect for little hands and picky eaters.
DIY “Lunchable” Style Boxes
Create your own version of a “Lunchable” by packing slices of homemade meat with crackers, cheese cubes, fruit, and veggies. It’s fun, customizable, and much healthier than store-bought kits.
What Types of Meat Are Best for Quick Homemade Lunches?
For fast, kid-friendly lunches, mild and tender meats work best. Chicken breast, turkey breast, and lean ham are easy to cook, slice, and pair with a variety of flavors. These options are also widely enjoyed by kids and can be prepared in bulk for the week. They can even complement dishes like a Creamy Mushroom Pasta for a hearty and balanced meal.
Other good choices include cooked beef or roasted chicken thighs, which stay juicy and flavorful. Pick cuts that are easy to slice and don’t dry out quickly, so your lunch meat stays tender and ready for sandwiches, wraps, or snacks throughout the week.
Safety Tips Every Parent Should Know When Making Meat
When preparing meat at home, parents need to be extra careful to protect their family from foodborne illnesses. By following simple but important safety steps, you can make sure every meal is both healthy and safe for your children.
- Always wash your hands thoroughly with soap and warm water for at least 20 seconds before and after handling raw meat to prevent the spread of bacteria.
- Use separate cutting boards and utensils for raw meat and other foods like vegetables or fruits to avoid cross-contamination in your kitchen.
- Keep raw meat stored in sealed containers or tightly wrapped on the bottom shelf of the refrigerator to prevent juices from dripping onto other foods.
- Cook meat to the recommended internal temperature by using a food thermometer to ensure harmful bacteria are destroyed before serving.
- Avoid washing raw chicken or meat under running water because it can spread bacteria through splashing onto nearby surfaces and utensils.
Conclusion
Making homemade lunch meat is a simple, healthy, and kid-approved way to elevate everyday meals. With just a few basic ingredients, easy cooking methods, and thoughtful seasoning, you can create fresh, flavorful slices perfect for sandwiches, wraps, or snacks.
Not only does it give you control over ingredients and portions, but it also allows for fun mix-ins and creative meal ideas that kids actually enjoy. By following proper storage and safety tips, you can keep your homemade meat fresh and ready for quick, nutritious lunches all week.