

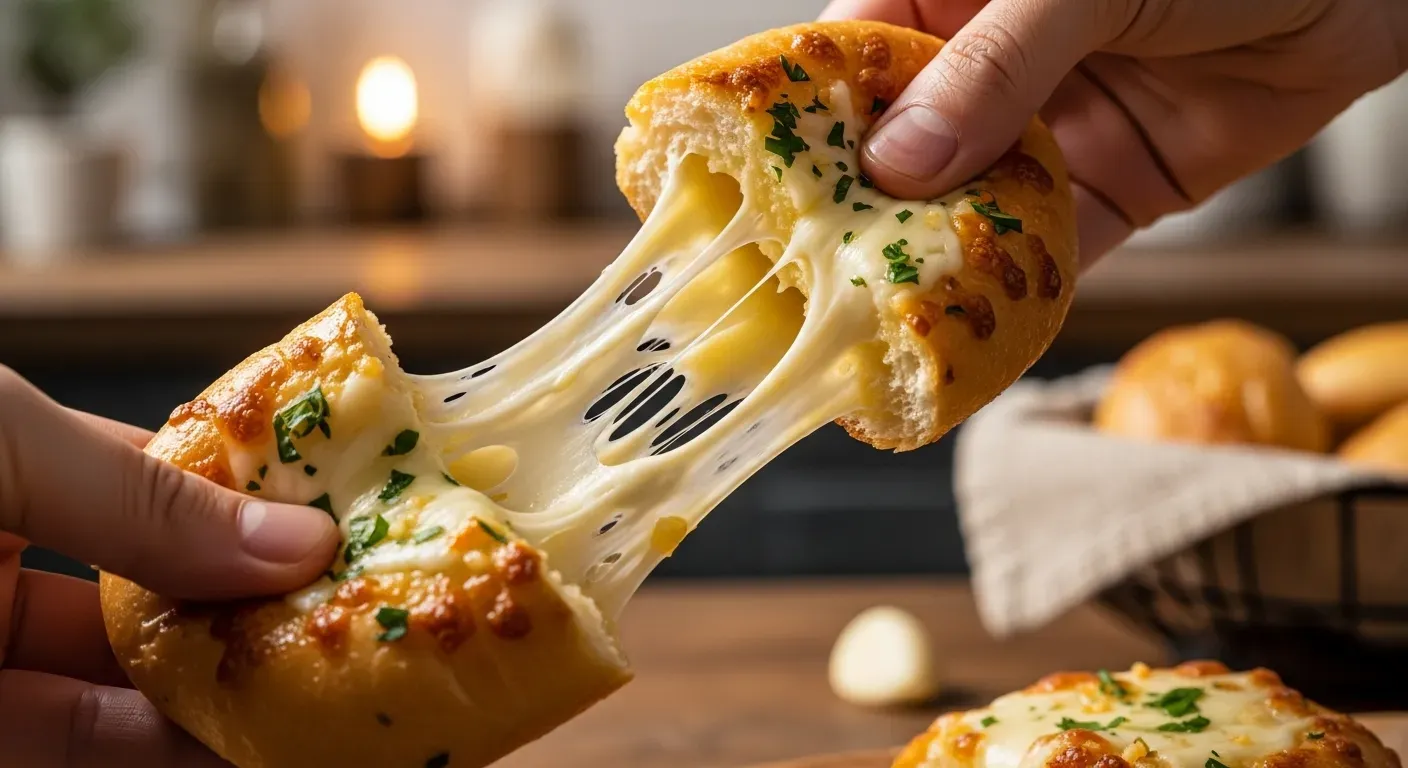
The Ultimate Cheesy Garlic Pull-Apart Bread: An Irresistibly Easy Recipe
Cheesy Garlic Pull-Apart Bread is a crowd-pleasing appetizer or snack that combines the simple comfort of warm bread with gooey, melted cheese and a rich, aromatic garlic flavor. It is the perfect centerpiece for parties, a welcome addition to family dinners, or a comforting treat for a cozy night in. This recipe is wonderfully simple to prepare, yet it delivers an indulgent and satisfying experience that feels special every time.
This article will guide you through every step needed to create a loaf of soft, flavorful bread that is incredibly easy to share and almost impossible to resist. From choosing the right bread to getting the perfect cheese pull, you will learn all the tips and tricks to master this recipe. Get ready to impress your friends and family with the ultimate comfort food.
Why Try Cheesy Garlic Pull Apart Bread?
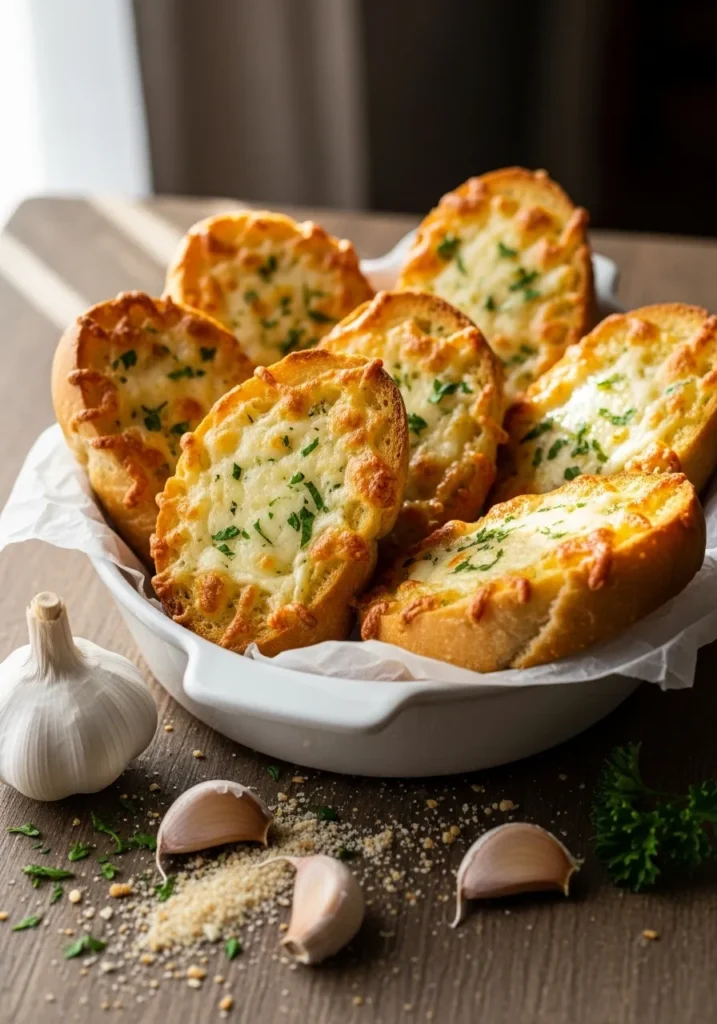
This delightful dish is an absolute must-try for garlic and cheese lovers who are looking for a fun, interactive, and delicious recipe. Its unique pull-apart style invites everyone to gather around and tear off a piece, making it an ideal appetizer for sharing at social events. The irresistible combination of melted cheese, fragrant herbs, and savory garlic butter ensures that every single bite is packed with mouthwatering flavor.
One of the best things about this recipe is how easy it is to make, even for beginner bakers. It adds a touch of homemade charm and warmth to any meal without requiring complicated steps. A friend of ours made this Cheesy Garlic Pull Apart Bread for a game night last winter, and it was gone in minutes. Whether served as a party appetizer or a side dish with pasta, it is always a guaranteed hit.
Ingredients

To create the perfect Cheesy Garlic Pull Apart Bread, you will need a few simple but high-quality ingredients. The right components are key to achieving that fluffy texture and rich flavor. Each ingredient plays a crucial role in the final result, from the sturdy loaf of bread that holds everything together to the blend of cheeses that provides that glorious, gooey melt.
Here is what you will need to get started on this delicious journey:
- 1 large loaf of fresh bread (sourdough or a crusty white loaf works best)
- 1/2 cup unsalted butter, melted
- 4 cloves garlic, minced
- 1 1/2 cups shredded mozzarella cheese
- 1/2 cup grated Parmesan cheese
- 2 tablespoons fresh parsley, finely chopped
- 1 teaspoon dried oregano or Italian seasoning
- Optional: A pinch of chili flakes for a hint of heat
For the bread, a round sourdough loaf is excellent because its sturdy crust holds up well to being stuffed with cheese and butter. For the cheese, using a mix of mozzarella for its melting quality and Parmesan for its salty, nutty flavor creates the perfect balance.
How to Make Cheesy Garlic Pull Apart Bread
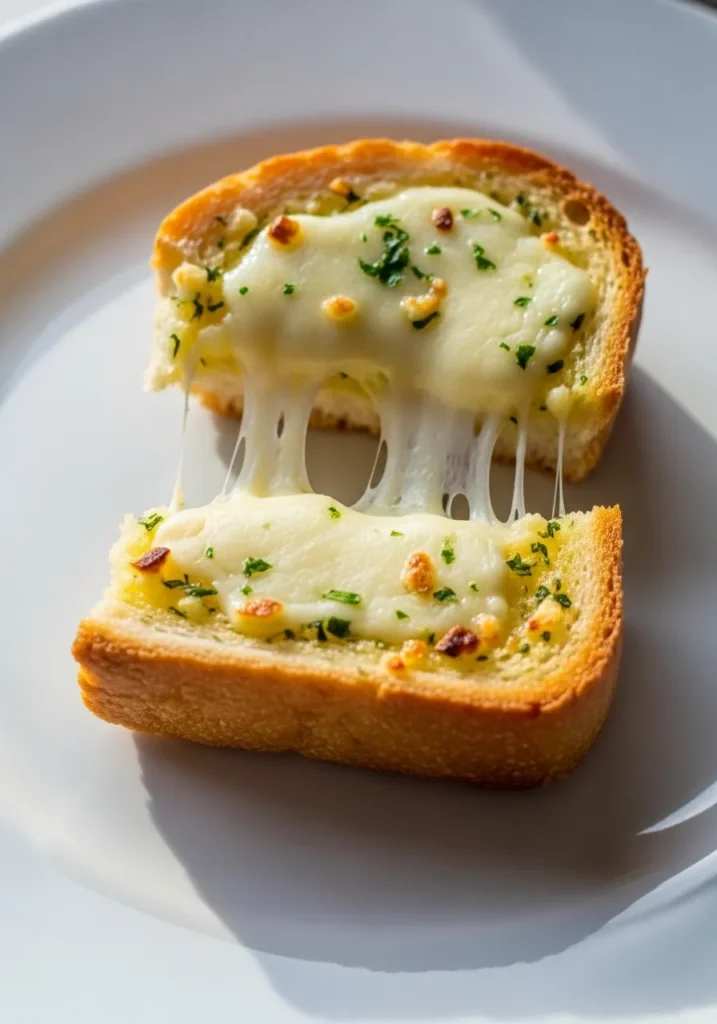
Making this amazing garlic cheese bread is a straightforward and enjoyable process. The recipe involves a few simple stages: preparing the bread, making the garlic butter, stuffing it with cheese, and baking it to golden perfection. Following these steps will ensure your pull-apart bread turns out perfectly every time, with a soft, flavorful interior and a slightly crispy top.
Let’s walk through the process step-by-step to create your very own delicious Cheesy Garlic Pull Apart Bread.
Prep the Bread
First, preheat your oven to 180°C (350°F). Take your loaf of bread and, using a serrated bread knife, carefully slice it in a criss-cross pattern. Make cuts about one inch apart, first in one direction and then in the opposite, creating a grid of diamond-shaped sections. Be sure not to slice all the way through the bottom crust; you want the loaf to remain intact at the base so it holds together.
This cutting technique is what makes the dish a “pull-apart” bread. The deep cuts create dozens of crevices that will soon be filled with delicious garlic butter and melted cheese. A helpful tip is to leave about half an inch of bread at the bottom uncut to ensure the loaf is sturdy enough.
Prepare Garlic Butter
Next, prepare the flavorful garlic butter mixture. In a small microwave-safe bowl, melt the unsalted butter. Once melted, add the minced garlic, finely chopped fresh parsley, and dried oregano or Italian seasoning. If you like a little bit of spice, this is the perfect time to add a pinch of chili flakes. Stir everything together until it is well combined and the aroma of garlic and herbs fills your kitchen.
Using fresh garlic is highly recommended as it provides a much more potent and authentic flavor than pre-minced or powdered garlic. This simple butter mixture is the heart of the Cheesy Garlic Pull Apart Bread recipe, infusing every nook and cranny of the bread with savory goodness.
Add Cheese
Now for the best part: adding the cheese. Gently pry open the cuts you made in the bread and stuff them with the shredded mozzarella and grated Parmesan cheese. Try to distribute the cheese evenly throughout the loaf, pushing it deep into the crevices. Don’t be shy with the cheese, as this is what creates the wonderful gooey texture that makes this bread so irresistible.
A good technique is to use your fingers to gently open each section and push the cheese in. Combining a high-moisture melting cheese like mozzarella with a hard, flavorful cheese like Parmesan creates the ultimate cheese experience—gooey, stringy, and full of flavor.
Brush and Wrap
With the cheese nestled into the bread, it’s time to add the garlic butter. Slowly pour or brush the prepared garlic butter mixture all over the top of the loaf. Gently pull apart the sections again to allow the butter to seep down into all the cuts, coating the bread and cheese. This step ensures that every piece of the pull-apart garlic bread is moist and flavorful.
Once the bread is fully coated, wrap the entire loaf tightly in aluminum foil. This is a crucial step, as the foil traps steam and heat, which melts the cheese perfectly and keeps the inside of the bread soft and tender. Make sure the foil covers the loaf completely.
Bake
Place the foil-wrapped loaf directly on the middle rack of your preheated oven. Bake for 15–20 minutes. During this time, the butter will melt into the bread, the garlic will become fragrant, and the cheese will turn wonderfully gooey. This initial baking phase is all about steaming the bread from the inside out.
After the initial bake, carefully remove the loaf from the oven and open the top of the foil to expose the bread. Return it to the oven and bake for an additional 5–10 minutes. This second, uncovered baking period allows the top of the bread to become golden brown and slightly crispy, providing a lovely textural contrast to the soft, cheesy interior.
Serve Warm
Once the top is golden and the cheese is bubbly, remove your Cheesy Garlic Pull Apart Bread from the oven. Let it cool for just a minute or two before transferring it to a serving board or platter. This dish is best enjoyed immediately while it is still warm and the cheese is at its peak meltiness.
Encourage everyone to simply dive in and pull apart the cheesy, garlic-infused pieces with their hands. The interactive nature of this cheesy garlic bread makes it a fun and memorable addition to any meal or gathering.
Pro Tips for Perfect Results
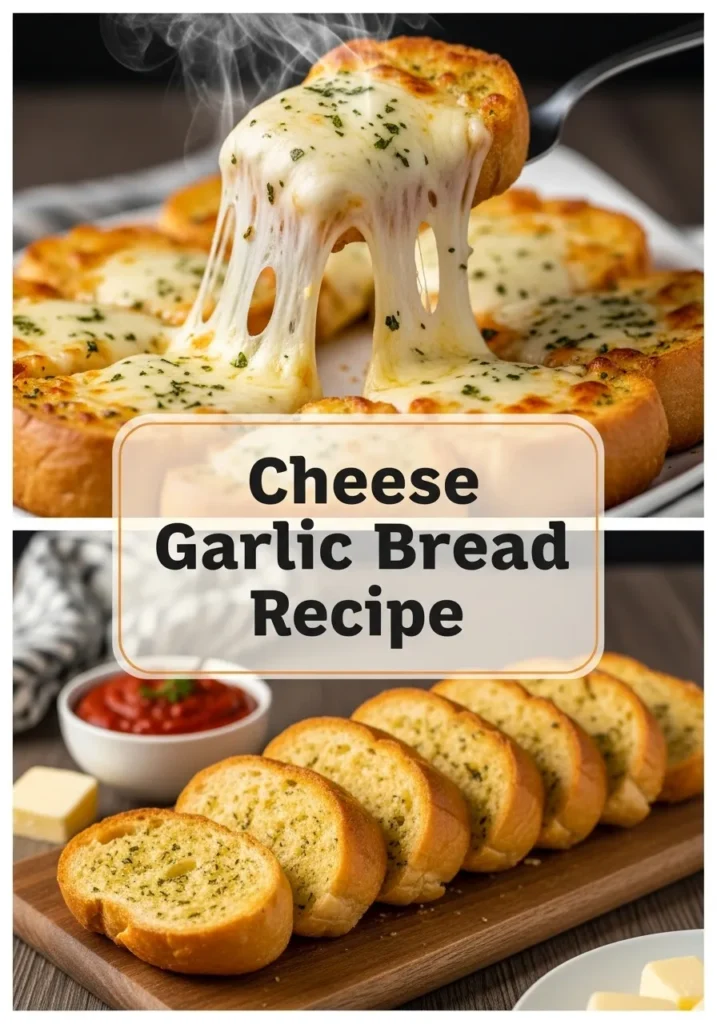
Use fresh, soft bread for the best pull-apart texture.
The quality of your bread can make or break this recipe. A fresh, high-quality loaf with a crusty exterior and a soft, chewy interior, like sourdough or an artisan white loaf, is ideal. Stale or overly dense bread won’t have the same fluffy, pull-apart quality. You can check for freshness by gently pressing the loaf; it should feel soft and spring back slightly.
This ensures that the final Cheesy Garlic Pull Apart Bread is tender and easy to tear. A crusty bread also provides a sturdy base that can hold all the butter and cheese without becoming soggy.
Don’t overfill with cheese to prevent it from oozing out too much.
While it is tempting to stuff as much cheese as possible into the bread, moderation is key. Overfilling can cause the cheese to ooze out excessively during baking, creating a greasy mess on your baking sheet and leaving some sections of the bread with less cheese. Aim for a generous but reasonable amount in each cut.
A good rule of thumb is to fill the crevices until they are full but not overflowing. This will give you the perfect cheese-to-bread ratio and that sought-after cheese pull in every piece.
Let the bread rest 2–3 minutes after baking to allow cheese to settle slightly.
As tempting as it is to dig in the moment it comes out of the oven, allowing the cheesy garlic bread to rest for a couple of minutes is a wise move. This brief resting period lets the molten cheese set just slightly, making it less messy to handle and pull apart. It also allows the flavors to meld together even more.
This short pause ensures that the cheese is still perfectly gooey and stringy but not so liquid that it runs everywhere. It’s a small step that makes the serving experience much more enjoyable for everyone.
Optional: Add cooked bacon bits or caramelized onions for extra flavor.
While the classic Cheesy Garlic Pull Apart Bread is fantastic on its own, you can easily customize it with additional ingredients. For an extra layer of savory flavor, try tucking in some cooked, crumbled bacon, finely diced jalapeños for a spicy kick, or sweet caramelized onions. These additions can elevate the recipe and tailor it to your specific tastes.
When adding extra fillings, be sure they are cooked and chopped into small pieces so they can be easily distributed throughout the bread. Experiment with different combinations to create your own signature pull-apart garlic bread.
Nutrition Information
Understanding the nutritional content can be helpful, especially for those tracking their intake. The following values are an approximation for a single serving of Cheesy Garlic Pull Apart Bread. Please remember that these numbers can vary significantly based on the specific type and brand of bread, butter, and cheese you use.
Here is a general breakdown per slice:
- Serving size: 1 slice (approx.)
- Calories: 250–300 kcal
- Fat: 18 g
- Carbohydrates: 22 g
- Protein: 10 g
- Sodium: 400 mg
- Fiber: 1–2 g
Note: These values are intended as a guideline only. For precise nutritional information, it is best to calculate the values based on the exact ingredients and measurements used in your recipe.
Serving Ideas
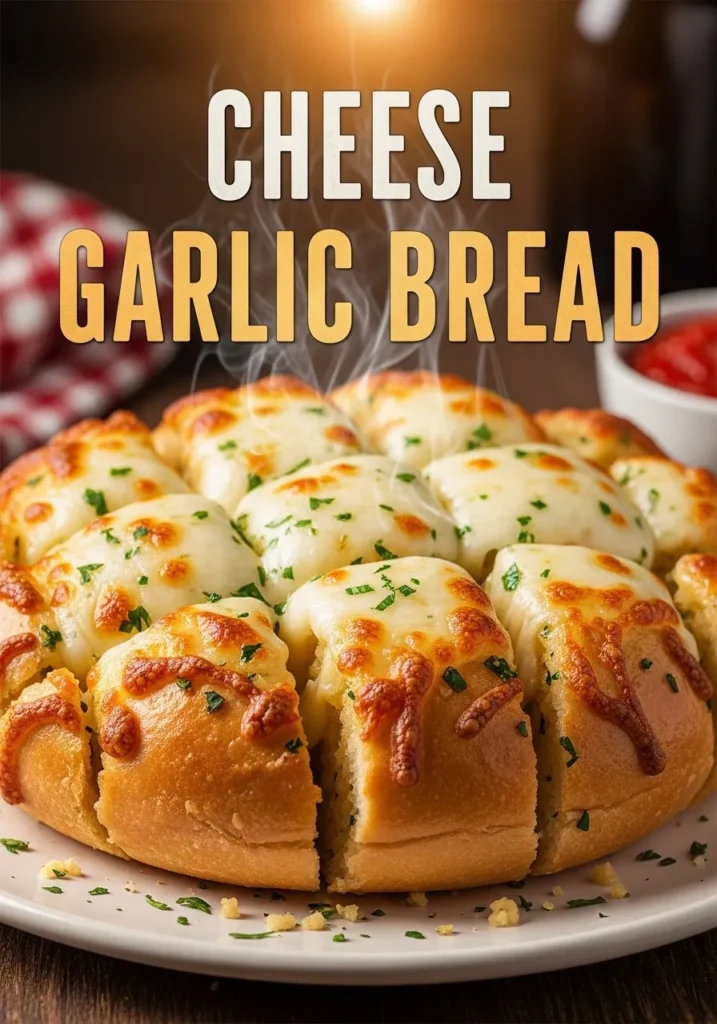
Pair with marinara or tomato dipping sauce.
One of the most classic and delicious ways to serve this cheesy garlic bread is with a side of warm marinara or tomato sauce for dipping. The bright, acidic flavor of the tomato sauce cuts through the richness of the butter and cheese, creating a perfectly balanced bite. It’s reminiscent of a deconstructed pizza and is always a crowd-pleaser.
You can use your favorite store-bought sauce or quickly make your own by simmering canned crushed tomatoes with a little garlic, oregano, and a pinch of sugar. Serving it warm in a small bowl alongside the bread makes for an inviting presentation.
Serve alongside soups like tomato or minestrone.
This Cheesy Garlic Pull Apart Bread is the ultimate companion for a hearty bowl of soup. It is particularly wonderful served alongside a creamy tomato soup or a rustic minestrone. The soft, cheesy bread is perfect for dipping into the warm broth, soaking up all the delicious flavors. It turns a simple soup dinner into a more substantial and comforting meal.
A friend mentioned that he always makes a loaf of this garlic cheese bread whenever he serves soup for dinner because his family loves using it for dipping. It’s a simple way to make any soup feel more special.
Ideal as a side to pasta dishes, grilled meats, or roasted vegetables.
This versatile bread is not just an appetizer; it also serves as an excellent side dish for a wide variety of main courses. It pairs beautifully with classic pasta dishes, helping to mop up any leftover sauce. It is also a fantastic accompaniment to grilled meats like steak or chicken, or a platter of roasted vegetables.
Its rich, savory flavor complements many different meals, making it a go-to side for weeknight dinners and special occasions alike. Serving a loaf of warm Cheesy Garlic Pull Apart Bread is an easy way to elevate any meal.
Storage & Reuse Tips
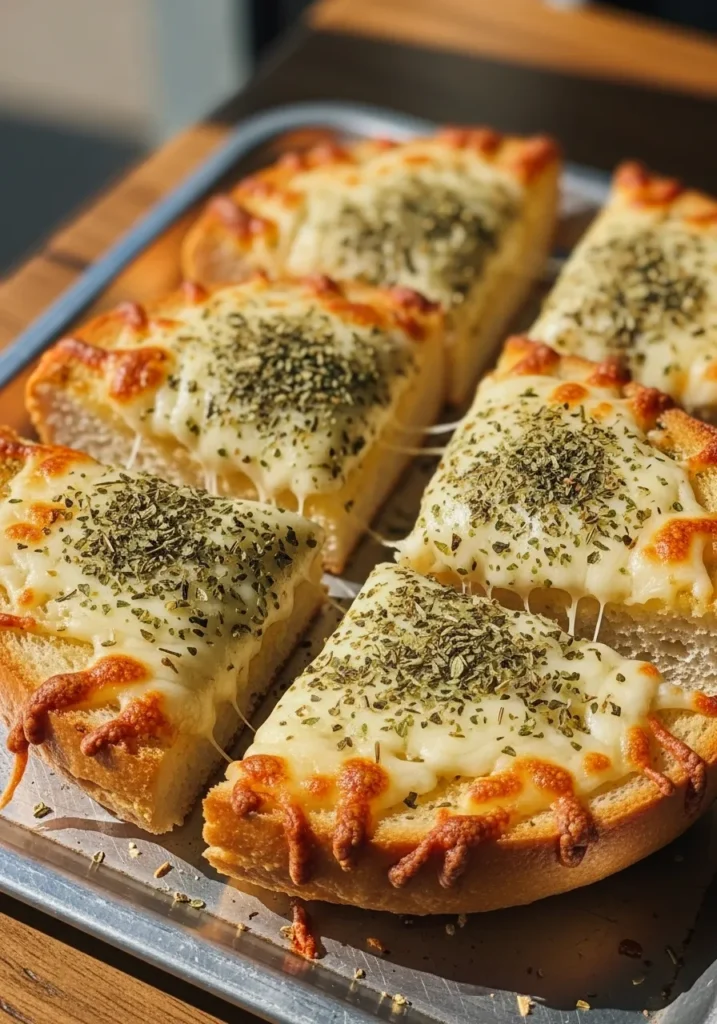
Store leftover bread in an airtight container at room temperature for up to 2 days.
If you happen to have any leftovers, the best way to store them is in an airtight container or a resealable plastic bag. Keep it at room temperature for up to two days. Storing it in the refrigerator is not recommended, as it can cause the bread to dry out and become hard.
Proper storage is key to ensuring your leftover pull-apart garlic bread stays as fresh as possible. Make sure the container is sealed tightly to prevent air from getting in.
Reheat in the oven at 160°C (320°F) for 5–7 minutes to restore crispiness.
The best way to bring your leftover Cheesy Garlic Pull Apart Bread back to life is by reheating it in the oven. Preheating your oven to a moderate temperature and warming the bread for just a few minutes will help melt the cheese again and restore the crispiness of the crust. You can wrap it in foil again to prevent it from browning too much.
This method ensures the bread becomes warm and soft on the inside while the outside gets a nice, slight crunch, making it taste almost as good as when it was freshly baked.
Avoid microwaving for too long as it can make the bread soggy.
While microwaving is a quick option, it is not ideal for reheating this type of bread. The microwave can make the bread tough, chewy, and soggy, ruining its delightful texture. If you must use a microwave, do so in very short bursts of 15-20 seconds at a time, just until it’s warmed through.
However, for the best results, taking the extra few minutes to reheat it in the oven is well worth the effort. It makes a world of difference in the final texture and taste of your leftover bread.
Conclusion
Cheesy Garlic Pull Apart Bread is a wonderfully easy, incredibly delicious, and fun dish that is perfect for almost any occasion. With just a handful of simple ingredients and a few straightforward steps, you can create a warm, gooey, and flavorful appetizer or side that is both fun to make and impossible to resist. It’s a recipe that brings people together and always leaves them wanting more.
So, the next time you’re planning a party, a family dinner, or just a cozy night in, give this recipe a try. You’ll be amazed at how simple it is to create something so impressive and satisfying. Grab a loaf of bread and get ready to enjoy the ultimate comfort food!